반응형
컨트롤러에서 리턴 값으로 문자를 반환하면 뷰 리졸버( viewResolver )가 리턴값과 같은 파일를 찾아서 처리한다.
resources:templates/ +{ViewName}+ .html
현재 컨트롤러에서 hello를 리턴하고 있어, 이를 실행하면 hello.html이 실행이된다.
@Controller
public class HelloController {

 @GetMapping("hello")
 public String hello(Model model) {

 	model.addAttribute("data", "hello!!");

 	return "hello";
 }

}
<!--
resources/static/hello.html
-->
<!DOCTYPE HTML>
<html xmlns:th="http://www.thymeleaf.org">
<head>
<title>Hello</title>
<meta http-equiv="Content-Type" content="text/html; charset=UTF-8" />
</head>
<body>
<p th:text="'안녕하세요. ' + ${data}" >안녕하세요. 손님</p>
</body>
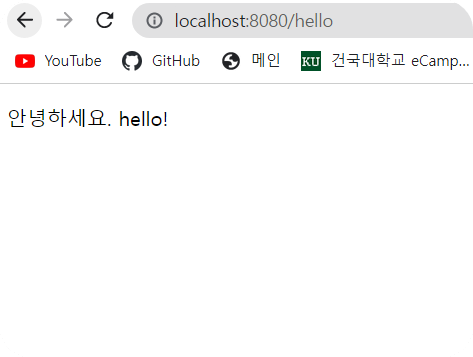
</html>위와 같이 두개의 코드를 작성한 뒤 locallhost:8080/hello로 들어가면
" 안녕하세요. Hello! " 라고 뜬다.
코드를 조금씩 설명하며 왜 결과가 저렇게 나오는지 알아보겠다.
@GetMapping("hello")이 코드는 hello를 get 했을 때 이렇게 반응해라. 라는 의미이다.
public String hello(Model model){
    model.addAttribute("data","hello!");
    return "hello";
}
위 코드는 모델이 들어오면 그 모델의 이름은 data 값은 hello!라고 지정해주고 resotce/templetes/hello.html을 실행시켜라 라는 의미이다.
hello.html에는 아래와 같은 코드가 있는데, 여기에 ${data}에 hello! 라는 값이 들어가게된다.
<p th:text="'안녕하세요. ' + ${data}" >안녕하세요. 손님</p>다음으로는 빌드 후 실행을 해보겠다.
먼저 dir로 파일들을 확인하고 cd로 이동하며 gradle.bat 파일이 있는 위치로 이동한다.
$gradlew build위 코드로 빌드한다,
빌드를 했다면 build 파일이 생성된다.
build/libs 에 들어간 뒤 아래 코드로 실행시키면 된다.
java -jar (프젝명)-0.0.1-SNAPSHOT.jar
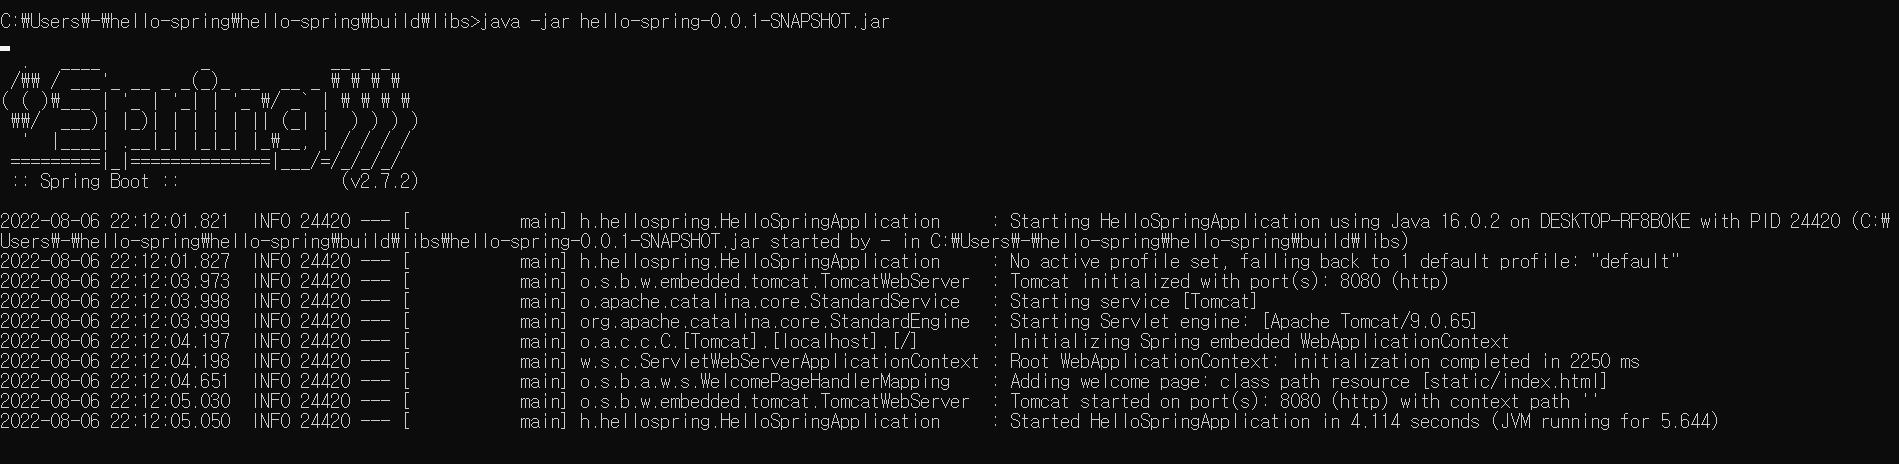
잘 실행을 시켰다면 아래 사진과같이 나올것이다.
또, 이상태로 hello.html/hello에 들어가본다면 아래와 같이 정상작동 할 것이다.
반응형
'공부 > Spring - 김영한' 카테고리의 다른 글
| [ spring ] 예제 - 회원관리 : 웹 MVC 개발 (0) | 2023.01.26 |
|---|---|
| [ spring ] 스프링 빈과 의존관계, 예제 - 회원관리 : 의존관계 설정 (0) | 2023.01.19 |
| [ spring ] 예제 - 회원 관리 : 도메인, 리포지토리, 서비스, 테스트케이스 (0) | 2023.01.12 |
| [ Spring ] 스프링 웹 개발 기초 : 정적컨텐츠, MVC와 템플릿엔진, API (0) | 2022.08.07 |
| [ Spring ] 환경설정 (0) | 2022.07.30 |